You will need StarWind V2V converter and a Windows 7 Repair CD in addition to the 2010 Information Worker Demonstration and Evaluation Virtual Machine.
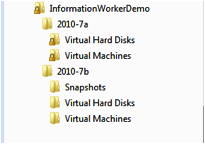
Download the 2010 Information Worker VM from the Microsoft Download Center and unpack the rar files into a folder.
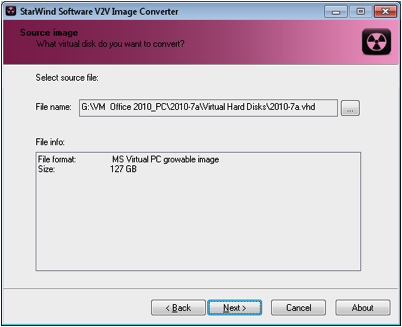
First thing to do is to convert the virtual image from a vhd into vmx. StarWind Software V2V Image Converter is a free utility that will do this conversion.
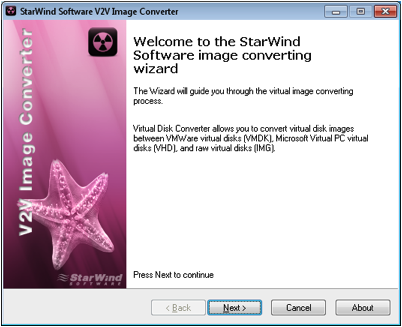
Click Next to begin the conversion
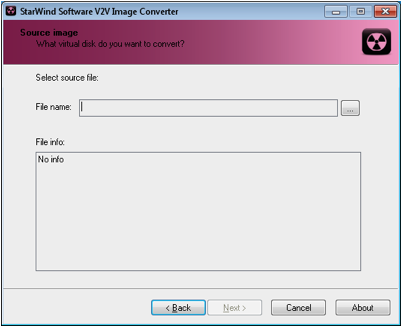
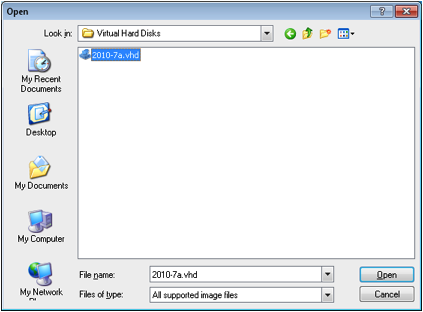
Select the VHD to convert
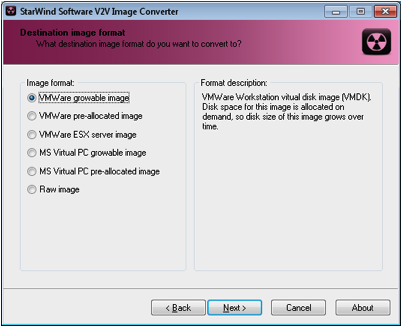
Select VMWare growable image otherwise. The pre-Allocated image option will create a fixed size 127G
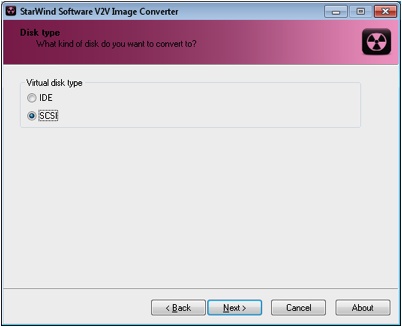
Select SCSI Disk Type
Select the output destination for the VMX virtual drive.
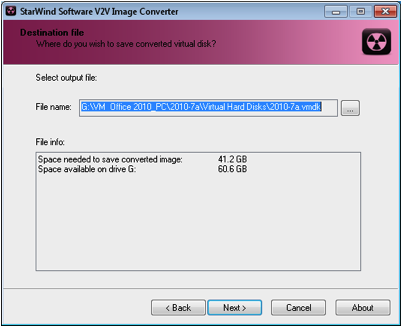
Depending on the hardware the conversion will take several minutes
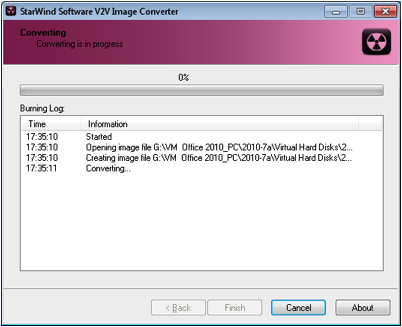
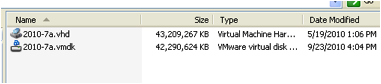
At the end of the process the VMWare virtual disk will be created.
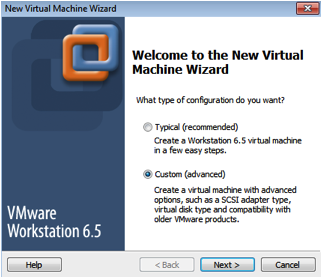
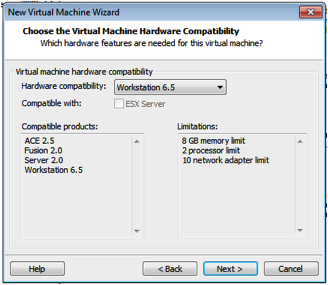
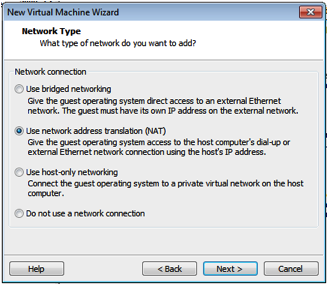
Create a new VMWare virtual machine. For this example Workstation 6.5 is being used but Fusion 3.0 Workstation 7.0 and VMWare Server has been used as well
Do not install an operating system on the new VMWare Virtual Machine
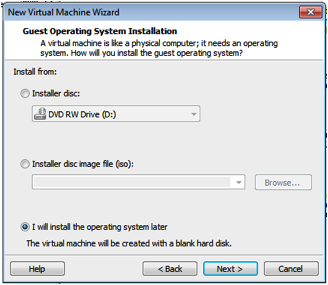
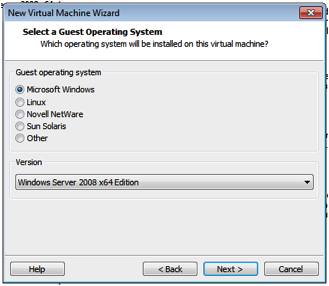
Choose Windows Server 2008 x64 Edition.
Give your virtual machine a name and location where to store it.
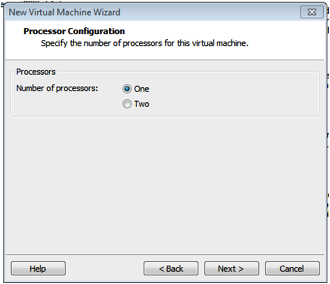
Select the number of processors.
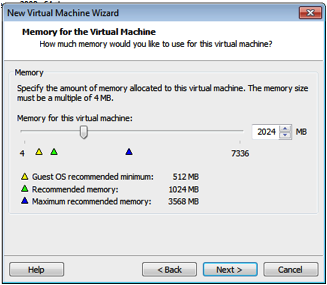
Chose the amount of memory you want to assign to the new VMWare Virtual Machine. Anywhere from 2G to a max of 8G.
Choose SCSI Adapter

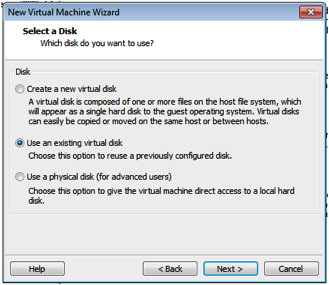
When selecting a disk choose the existing virtual disk option.
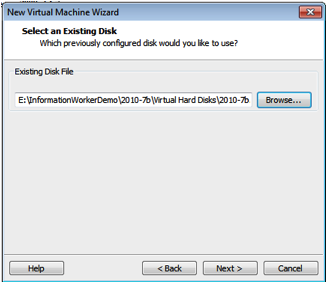
Browse to to the Information Worker Virtual machine. There are two of them 2010-7a and 20107-7b. This procedure will need to be executed for each one of them.

Select the Virtual Hard Drive to be converted into a VMWare Virtual Machine.
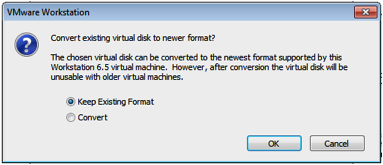
Either format will work.
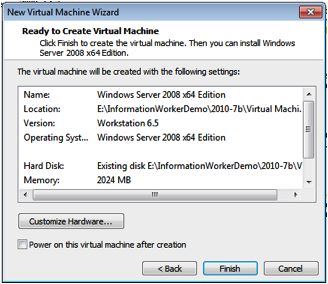
Any additional hardware configuration settings can be made here if needed, otherwise finish the creation of the new VMWare Virtual Machine.
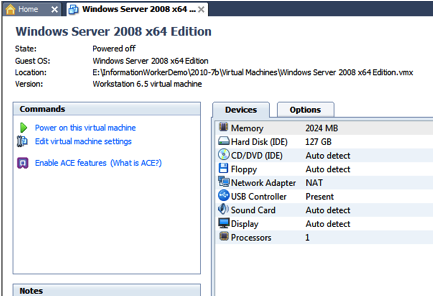
Do not start the new Virtual Machine just yet. We need to make some registry modifications otherwise it will freeze on boot.
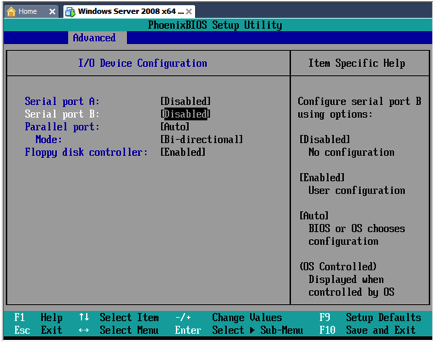
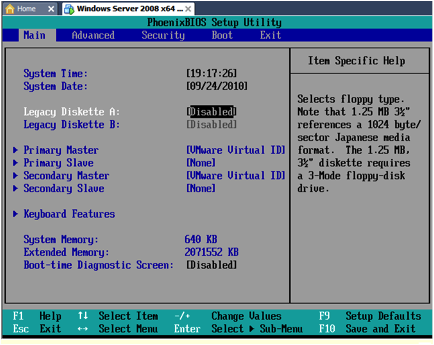
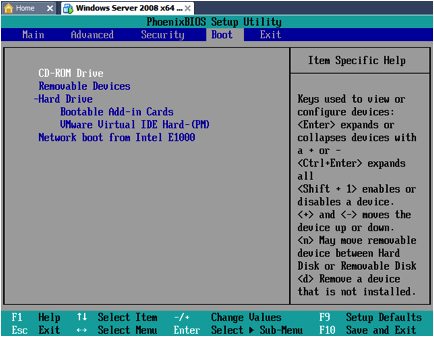
I normally go to File -> Boot from BIOS and disable the serial and parallel ports for performance purposes. I also change the booting option to first boot from CD. This makes it easier to boot into the Windows 7 repair disk CD so that I can load the registry and make the necessary change.
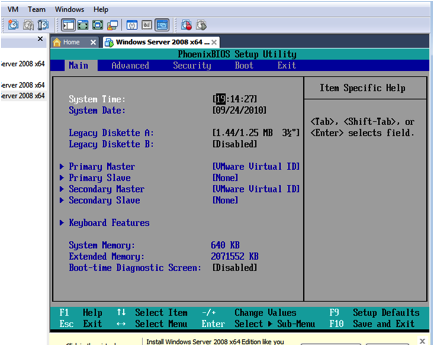
I like to disable Diskette A and B on my Virtual Machines.
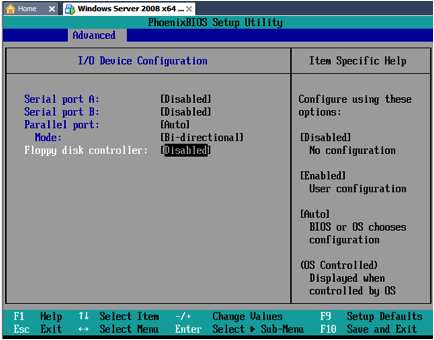
I also disable the Serial Ports and the floppy disk controller.
Press F10 and save the configuration, but before you exit make sure the Windows 7 Repair CD is on your DVD drive otherwise the VMWare machine will want to start from the hard drive and will get a 7B BSOD

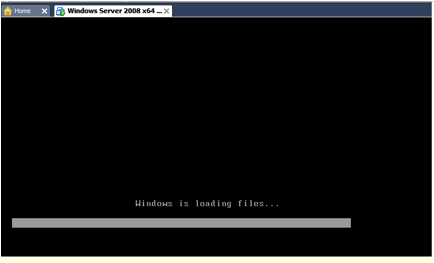
Exit the BIOS setup and allow your new VMWare virtual machine to boot from the CD.
When prompted press any key to boot from CD… do not allow it to boot from the hard drive.
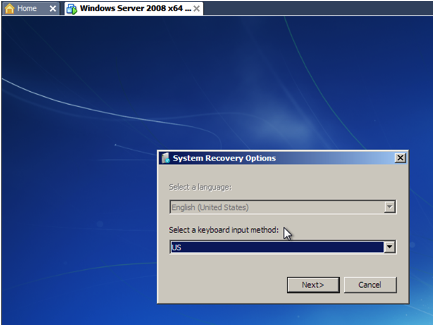
Choose your Windows 7 language.
Select your Windows Server 2008 R2 for repairing.
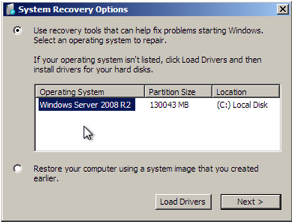
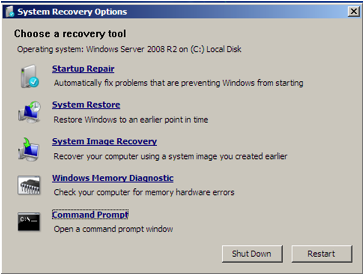
This screen will just flash for a second since there are nothing to repair at this point and proceed with the ‘Choose a recovery tool’ dialog window.

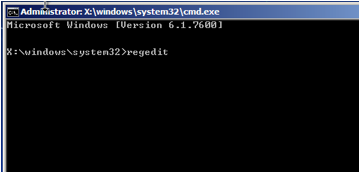
In the System Recovery Options window select Command Prompt

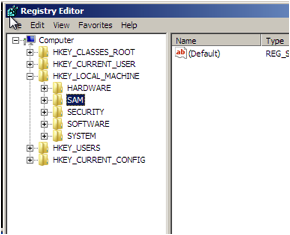
From the DOS prompt launch the registry editor
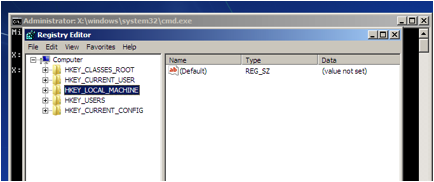
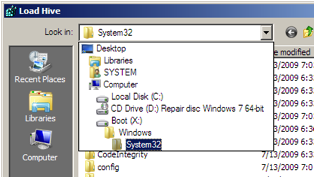
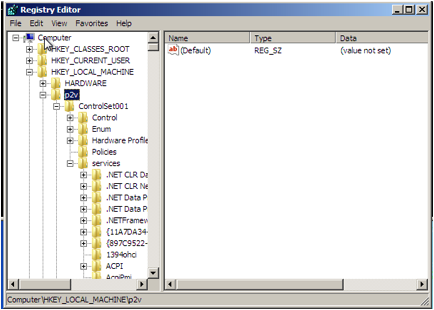
Select the HKEY Local Machine and click on Menu -> File -> Load Hive
Navigate to WindowsSystem32 but DO NOT choose the Boot (X:) drive.
That drive belongs to your Windows7.
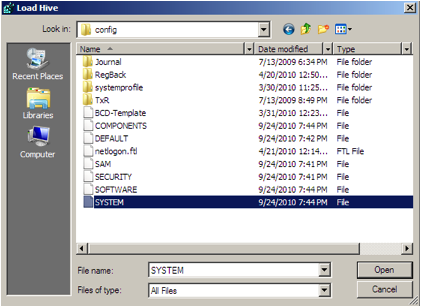
Select the C:WidowsSystem32 of the Virtual Machine.
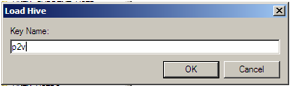
In the pop up prompt type p2v
Navigate to ControlSet001/Services/LSI_SAS
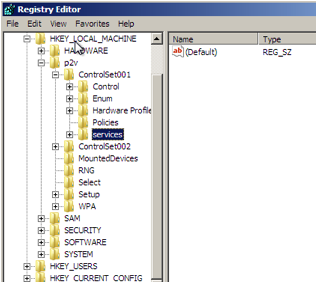
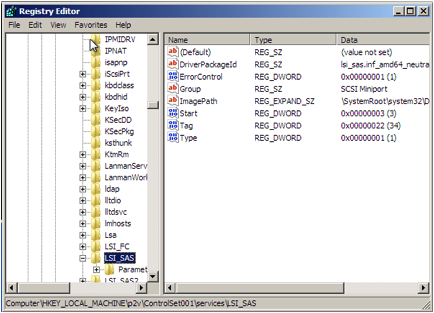
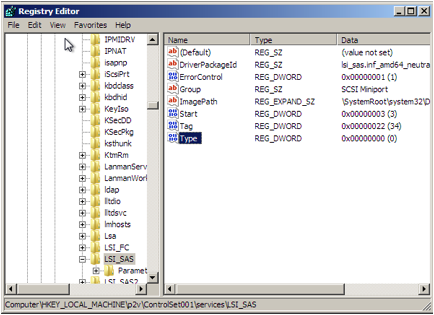
Modify the Type value to 0
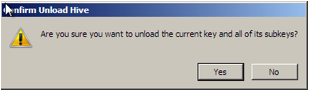
Go to File -> Unload Hive
Click on the Yes button to confirm your update.
Close the registry window and close the DOS Window. The Shut Down.
If you set up your boot order to begin with the DVD you will need to boot into the BIOS again and change it to boot from your Hard Drive now. Otherwise remove the Windows 7 recovery CD and boot normally
Hit fn+CTRL+Option+Delete on Mac or Ctrl+Alt+Insert on Windows 7
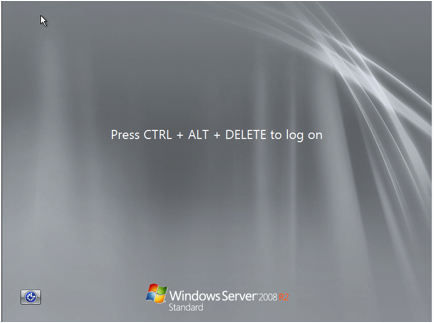
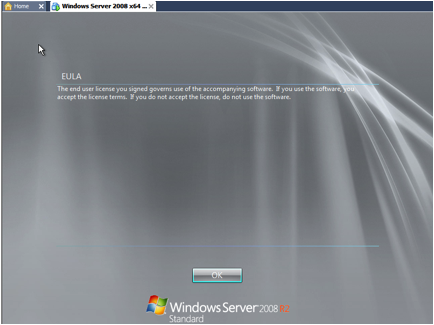
Accept the EULA
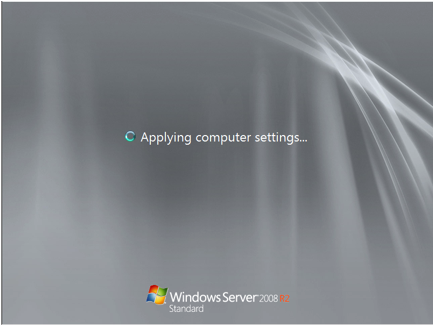
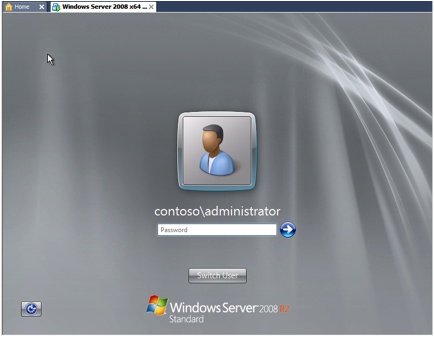
Enter pass@word1 for password and let the ‘Warmup’ script run before accessing the http:intranet sites.
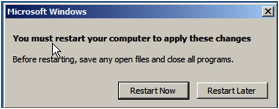
A restart of the Virtual Machine will be required after the first boot.
For related articles visit my website